Warehouse wanderings
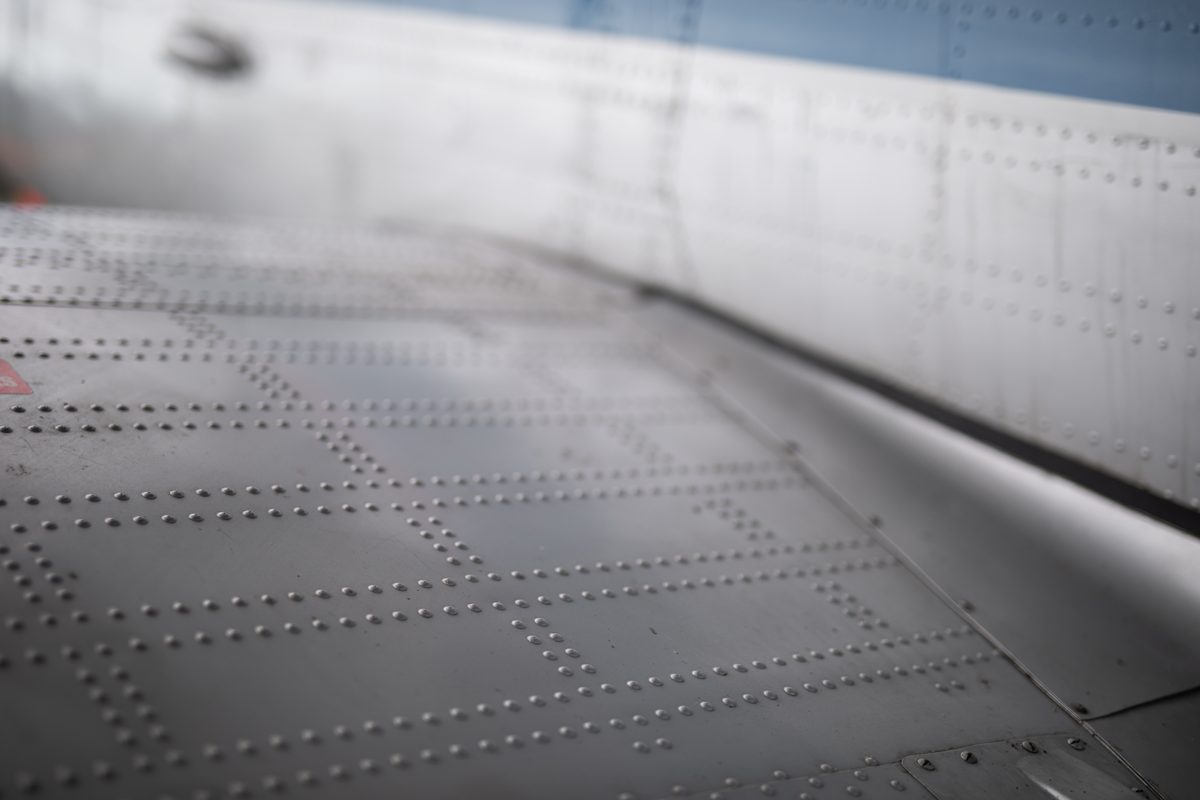
One of my favorite things to do is wander the aisles of the parts warehouse looking for inspiration. The staff have grown accustomed to seeing me there, taking pictures, measuring and assessing. I never know what parts will spark an idea or inspire the next piece of furniture we will build.
Jail break
Once I discover the parts that I believe will work, it is quite a process to get them released from the warehouse. Because aviation parts are highly regulated, we must follow specific procedures. Parts usage is assessed (we still have Convairs in service to support) and a list of people are required to sign off on the release. After approval, the parts have all of their documentation removed, and all identifying part and serial numbers are scrubbed. Before the parts can leave the warehouse, they must be damaged in such a way that they can never be installed or used on an aircraft again.
Back in the shop
A lot of thought goes into every piece of furniture we design. Once I have the parts in hand, they usually reside in my office for the first few days – providing the parts fit in my office! If the parts are Convair, we often have the drawings for them and can import them directly into AutoCAD. All other parts must be measured and drawn into CAD. This allows me to print scale drawings to sketch from.
Getting acquainted
I ask 22 questions about every part we start to work with. What is it? What details can I add to it to tie back to the original function of the part? How can it be oriented? What is appealing about it? What original characteristics do we want to maintain? Etc. All of these questions get me thinking about the form, function and possibilities for the finished product.
Let’s draw
A lot of sketching happens at this point in the process. I sit with my sketchbook and brainstorm. Every idea gets put on paper. Even if the concept doesn’t work for the current part, I can mine through the sketchbook pages later to use for another piece. When I feel that I have exhausted my ideas and concepts, I sit and evaluate the probability and practicality of building each piece.

Life in 3-D
To help visualize the finished furniture pieces, I 3-D render the ones that pass the probability and practicality factors of the previous step. This allows me to assess scale and proportion, explore various finishes and refine the aesthetics.
The reality check – aka build team meeting
Ideas in hand, I head to the workshop to meet with the team to work through each possibility. We explore fasteners, materials and every other aspect of the build. With years of hands-on experience, these remarkable team members are the ones that let me know what is and isn’t possible to build. Over the past year and a half, I have learned a lot about aircraft parts, metal bending properties, and aviation hardware. I don’t go back to my office feeling as beat up as I did when I first started bringing my designs to them.

The prototype
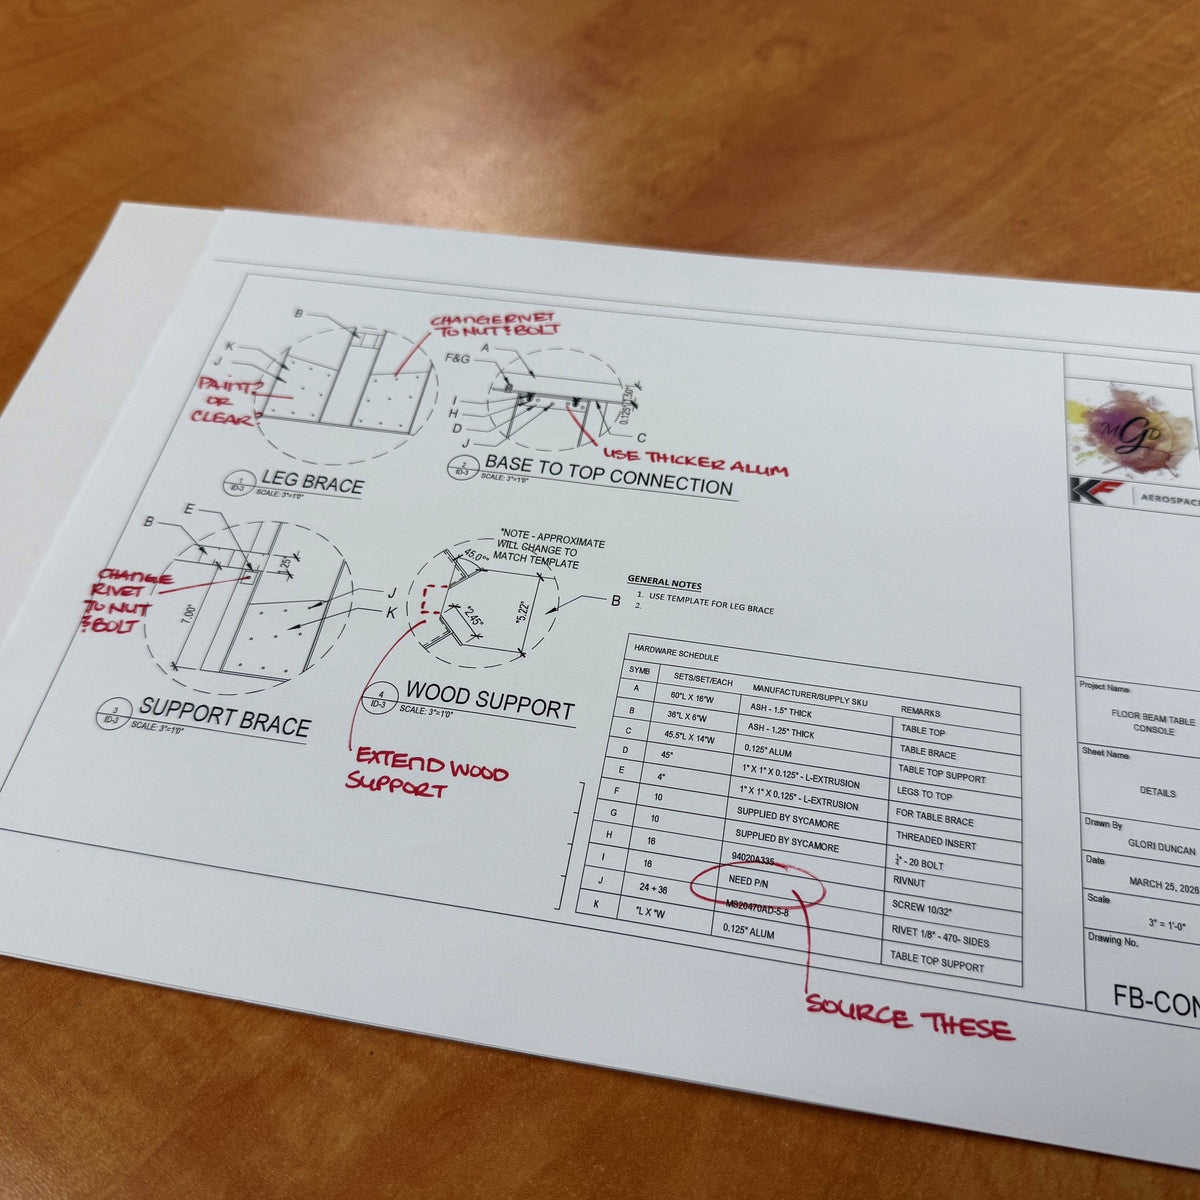
A draft set of documents is created for the team to work from for the prototype. Through the first build, they mark up any changes needed. This can include items such as hardware, measurements and materials.

Finalizing the product
When the prototype has been built, we inspect and adjust as needed. Any issues or concerns are addressed and corrected. Once we are happy with the design, the construction drawings are finalized. Material and hardware lists are compiled and ordered, and the build begins!